Discover how ductless mini split systems offer premium zoned cooling and elite efficiency for luxury estates in South Florida with Atlantic Refrigeration.
Is your home ready for the winter chill? Learn the signs you need a heating replacement in Delray Beach, FL, and discover energy-efficient HVAC systems.
Mini split systems help Delray Beach, FL homeowners save on energy costs with ductless, zone-based cooling. Learn how they work and if one fits your home.
Get expert heating repair in Delray Beach.. Fast, reliable furnace service keeps your home warm. Call now for professional heating system repair and maintenance.
Is your air conditioner constantly breaking down? Learn the 5 main signs that it's time for an AC replacement to lower your energy bills and stay cool.
Is your air conditioner blowing warm air or making strange noises? Count on Atlantic Refrigeration for fast, professional AC repair to restore your comfort.
Need reliable HVAC or commercial refrigeration services in DE or MD? From AC repair to walk-in coolers, trust our expert team for 24/7 climate solutions.
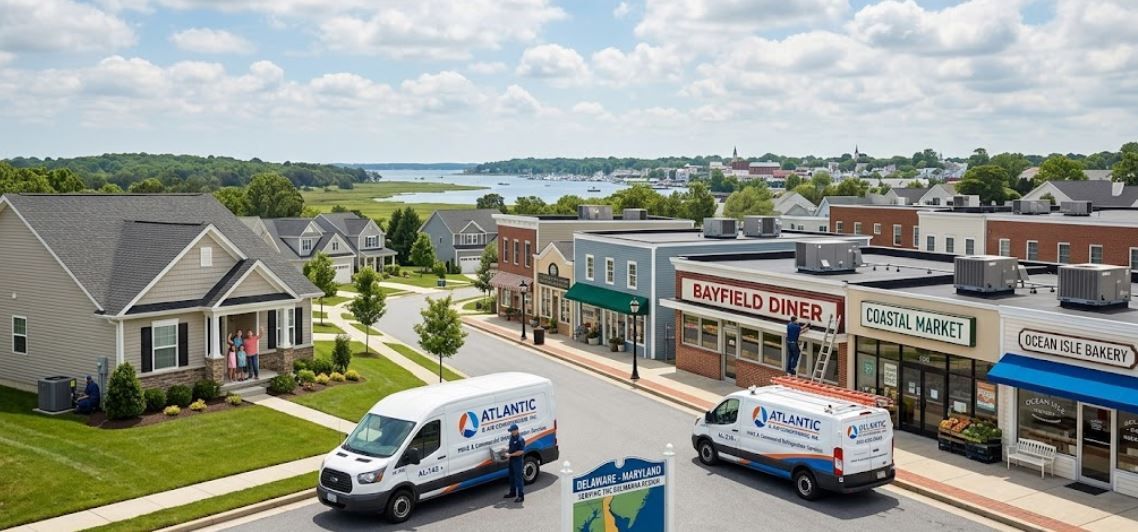
Atlantic Refrigeration offers expert HVAC and commercial refrigeration across DE and MD. From AC repair to walk-in coolers, see our full list of areas served.
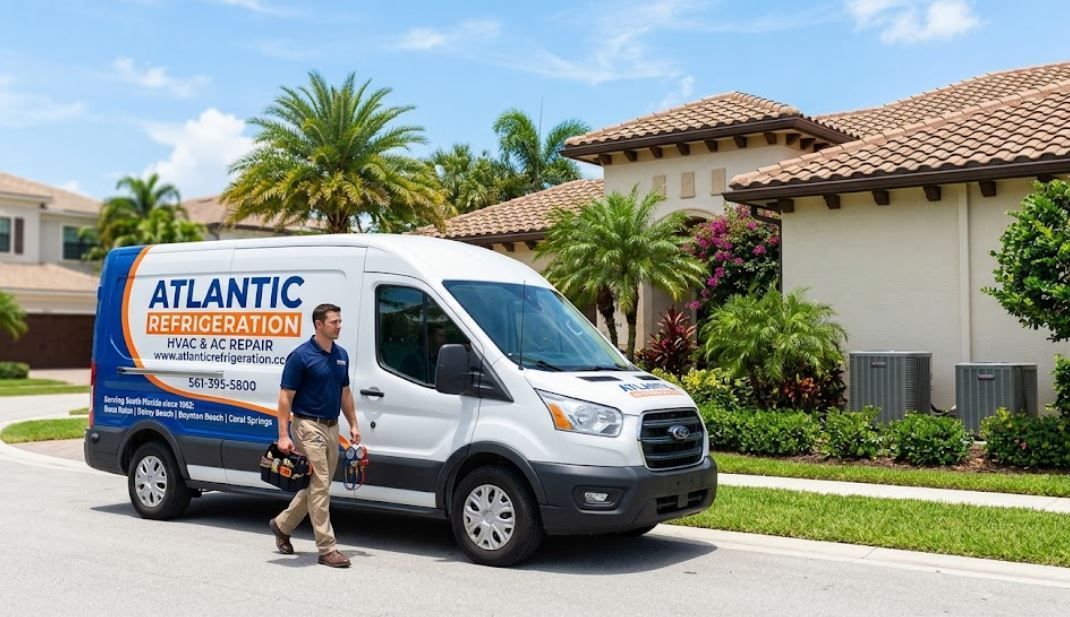
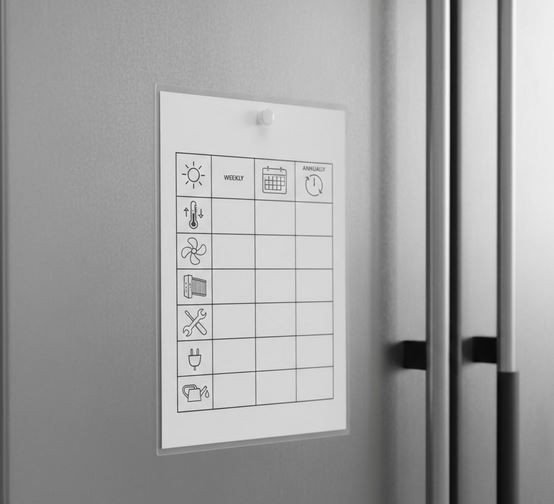
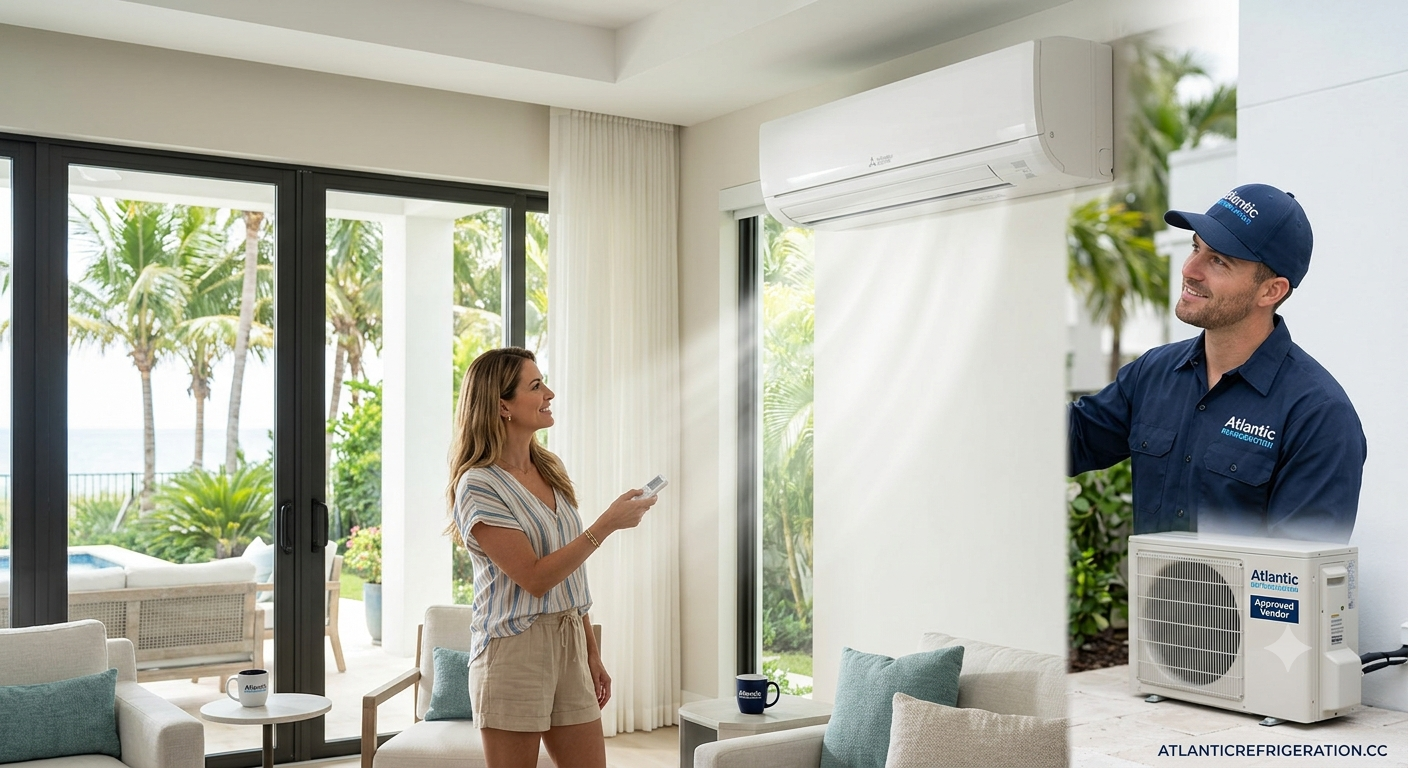
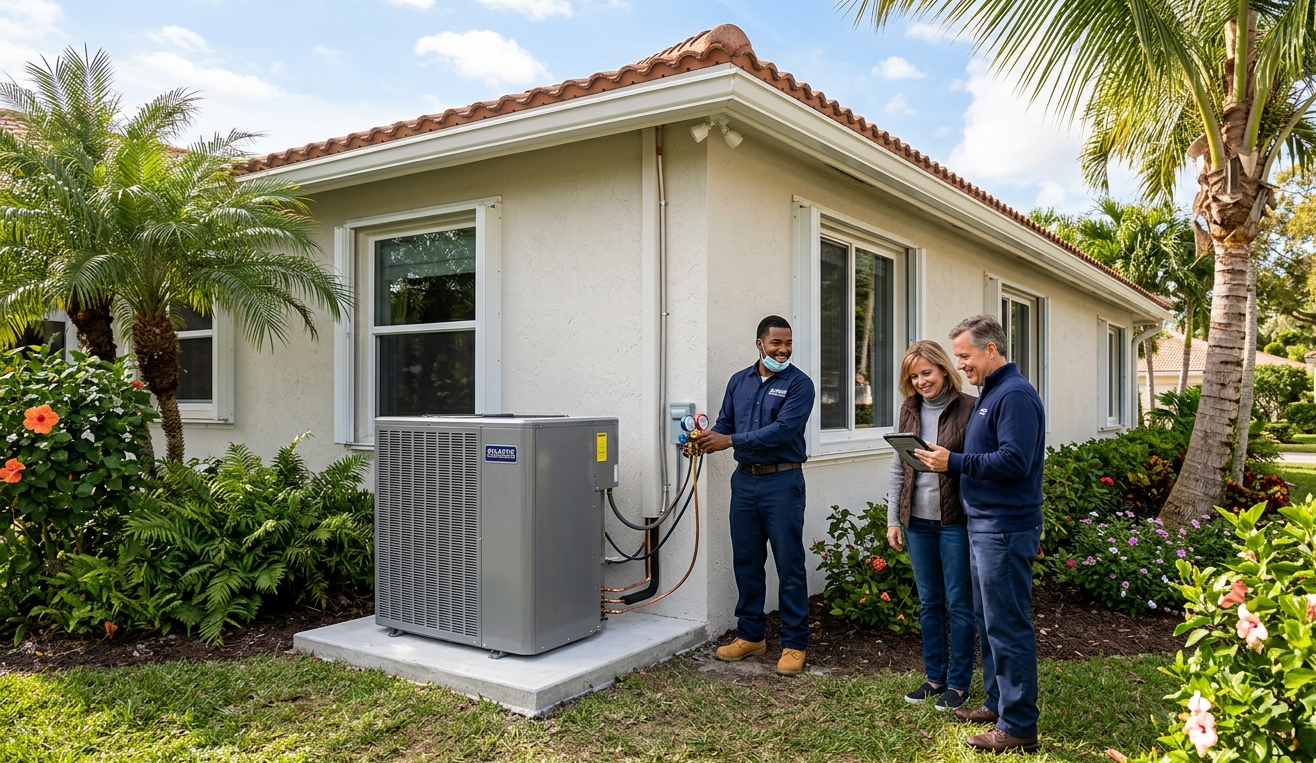
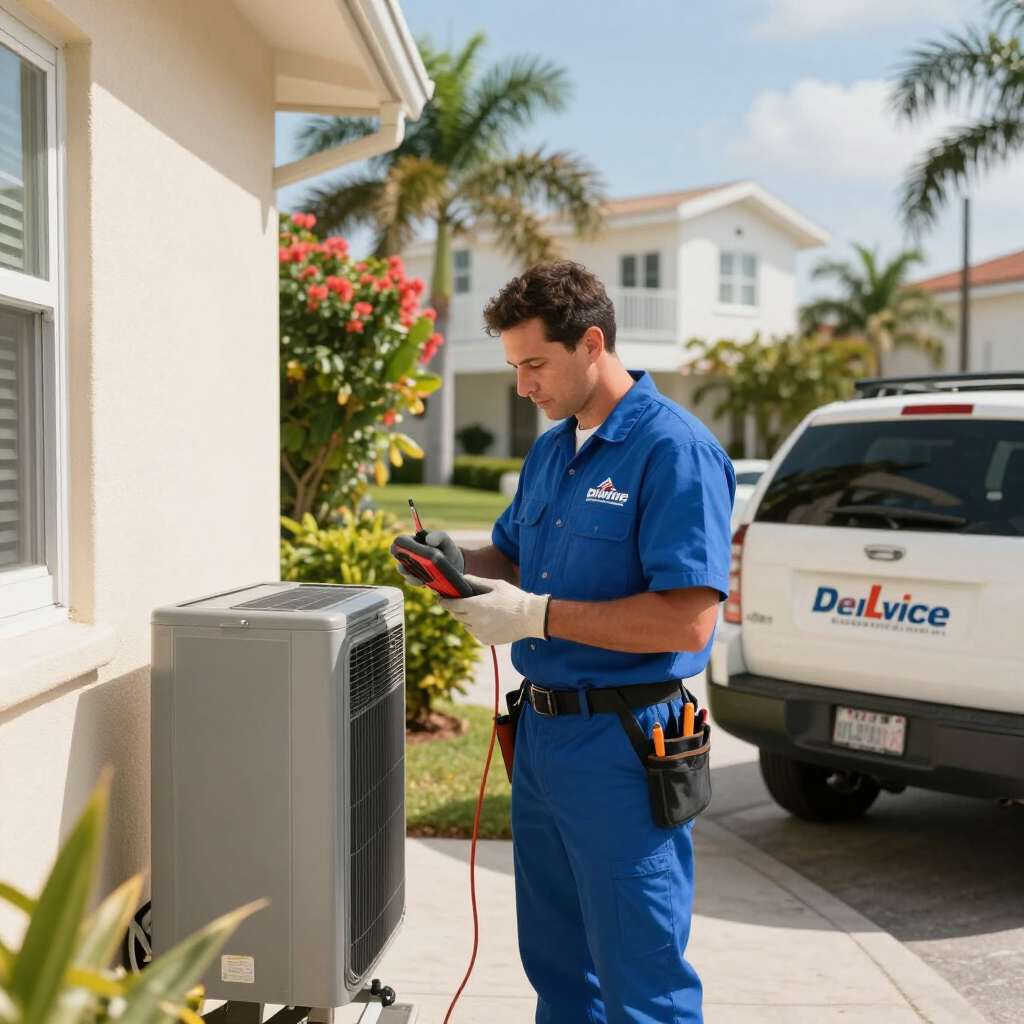
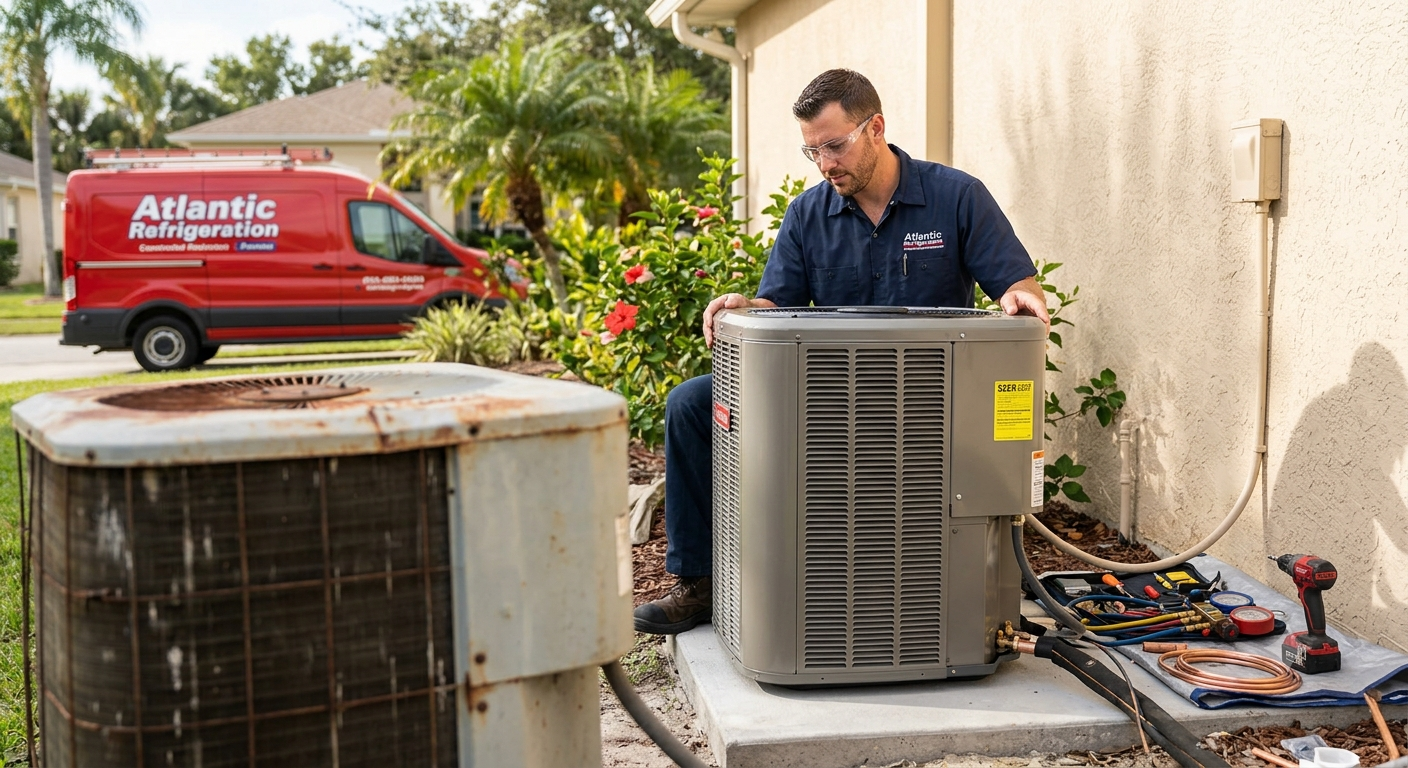
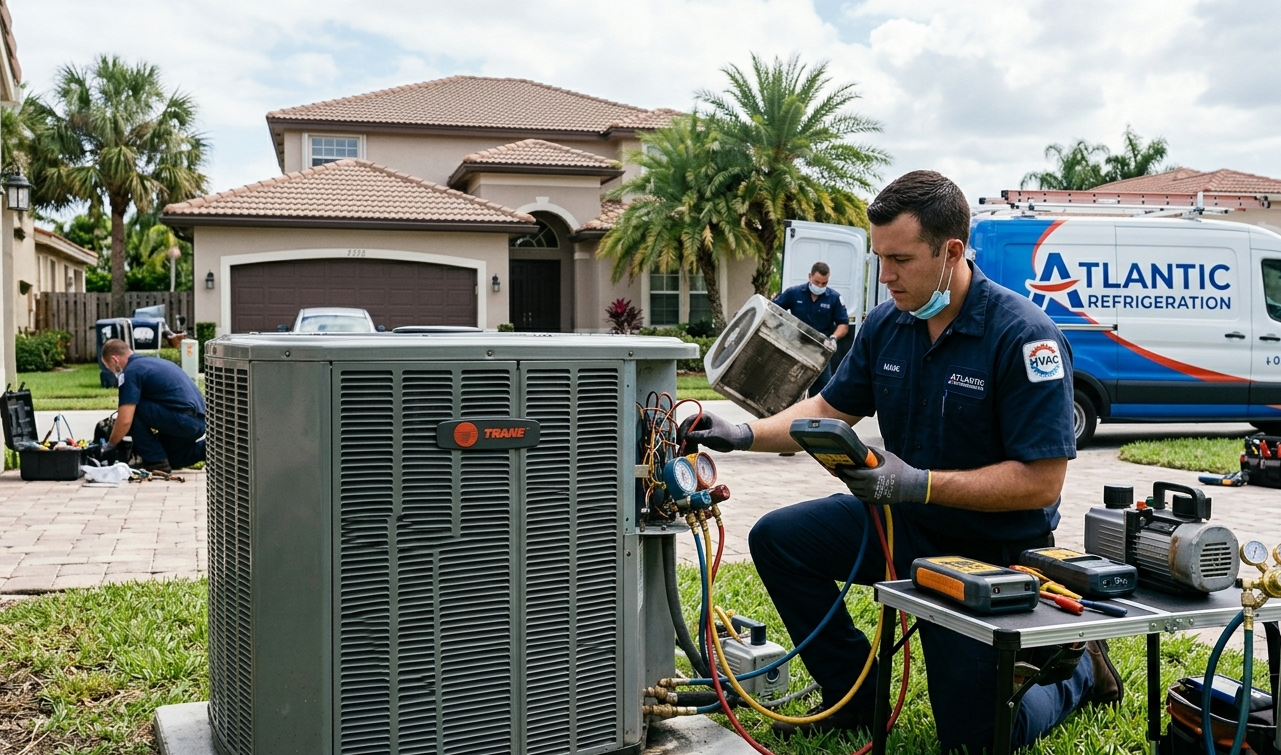
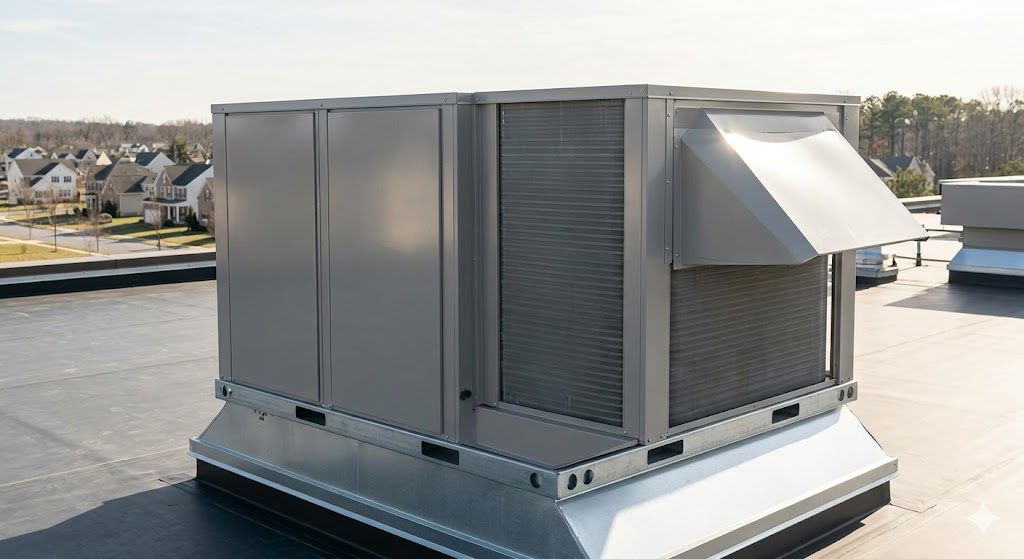
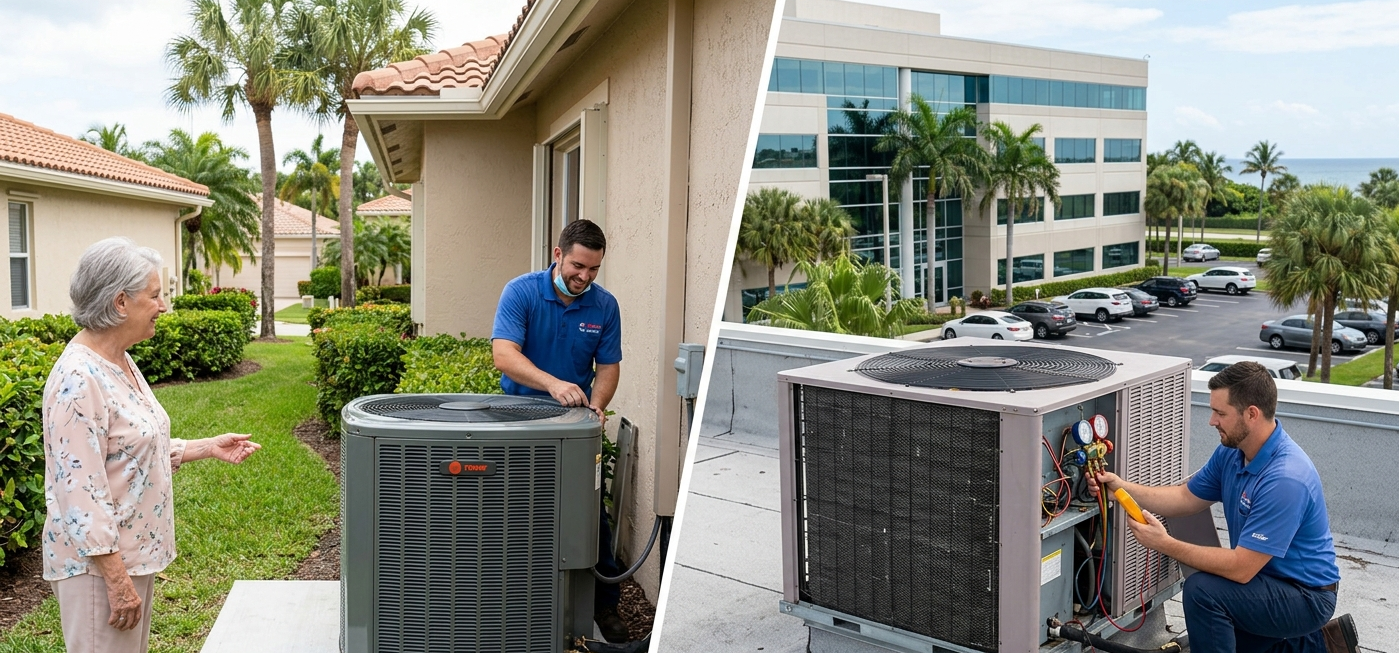
For over 60 years, Atlantic Refrigeration has been the premier choice for cooling and heating solutions across the South Florida coast. From luxury estates in Boca Raton to bustling businesses in Delray Beach, we understand that in the Florida heat, air conditioning isn't just a luxury—it’s a necessity. Our team specializes in high-end residential and commercial HVAC services, ensuring that your home, wine room, or office stays perfectly climate-controlled year-round. Expert HVAC Services for the South Florida Lifestyle Living in South Florida requires HVAC systems that can handle extreme humidity and constant use. At Atlantic Refrigeration, we provide a "white-glove" service experience tailored to the unique demands of our region. Residential AC Repair and Installation When your AC fails in the middle of a Florida summer, you need a fast, reliable solution. We offer: AC Repair in Florida: Emergency diagnostics and rapid repairs to get your cold air flowing again. New AC Installation: Upgrading to high-efficiency systems designed to lower utility bills and withstand the coastal salt air. Ductless Mini Splits: Perfect for home additions, sunrooms, or estates needing precise temperature control in specific zones. Specialized Cooling Solutions We go beyond standard air conditioning. Our expertise includes: Wine Room Cooling: Precision temperature and humidity control to protect your investment. Indoor Air Quality (IAQ): Advanced filtration and dehumidification systems to combat Florida mold and allergens. Pool Heat Pumps: Keeping your pool at the perfect temperature throughout the winter months. Proudly Serving Palm Beach and Broward Counties We have built long-standing relationships with homeowners and businesses throughout South Florida. Our deep knowledge of local building codes and coastal weather patterns makes us the go-to experts in the following areas: Services in Boca Raton, FL Boca Raton is known for its Mediterranean-style estates and high standards. We provide HVAC services in Boca Raton, FL , that match that excellence. Whether you are in a waterfront property near the Inlet or a gated community like Woodfield, we offer discreet, professional, and highly technical cooling repairs. Services in Delray Beach, FL In "The Village by the Sea," we keep both residents and Atlantic Avenue business owners cool. Our AC repair in Delray Beach, FL , is known for its speed and transparency. We help local shops maintain their commercial refrigeration and keep coastal homes protected from the corrosive sea breeze. Services in Boynton Beach, FL From Canyon Isles to the beachfront, we provide comprehensive heating and cooling in Boynton Beach, FL . We specialize in preventative maintenance that prevents the common "clogged drain line" issues so prevalent in our humid climate. Services in Coral Springs, FL As a master-planned community, Coral Springs residents appreciate precision. We offer top-tier HVAC installation in Coral Springs, FL , focusing on energy-efficient units that can handle the inland heat while keeping noise levels to a minimum. Services in Deerfield Beach, FL Whether it’s a condo overlooking the pier or a warehouse in the industrial district, our technicians are local experts in Deerfield Beach AC services . We provide 24/7 emergency support to ensure no one is left in the heat. The Atlantic Refrigeration Difference: Why We Stand Out Choosing an HVAC partner in South Florida is a big decision. Here is why Atlantic Refrigeration has been a household name since 1962: 1. 60+ Years of Local Experience We aren't a "fly-by-night" operation. We have been navigating the South Florida climate for six decades. We know exactly which brands and components hold up best against the humidity and salt air of towns like Highland Beach and Hillsboro Beach . 2. High-End & Estate Expertise We understand the needs of luxury properties. Our technicians are trained to work on sophisticated systems, including multi-zone configurations and specialized cooling for wine cellars and art galleries. 3. Transparent, Up-Front Pricing No one likes surprises when it comes to repair costs. We provide clear, honest estimates before any work begins. Whether you need a simple thermostat fix or a full system replacement, you’ll know exactly what to expect. 4. Commercial Refrigeration Mastery For South Florida’s vibrant restaurant and hospitality scene, we are the first call for walk-in cooler repairs and ice machine maintenance. We keep your business running so you can focus on your guests. Maximizing Energy Efficiency in the Sunshine State With energy costs rising, a high-efficiency HVAC system is one of the best investments a Florida homeowner can make. We specialize in SEER2-rated systems that provide: Lower Monthly Bills: Modern systems use significantly less electricity to achieve the same cooling power. Better Humidity Control: Variable-speed blowers remove more moisture from the air, making 75°F feel like 72°F. Quiet Operation: New technology ensures your AC unit doesn't disrupt your backyard peace. Maintenance: The Secret to HVAC Longevity In Florida, your AC unit runs almost 365 days a year. Without regular maintenance, the life expectancy of a unit can drop by years. Our Maintenance Agreements include: Coil Cleaning: Essential for removing salt and debris. Drain Line Flushes: To prevent water damage and mold. Electrical Checks: Ensuring all components are drawing the correct voltage. Ready for Reliable Comfort? Contact Us Today! Don't let a broken AC ruin your day. Whether you are searching for AC repair in Boca Raton , a new HVAC installation in Coral Springs , or specialized refrigeration services in Delray Beach , Atlantic Refrigeration is here to serve you. We are proud to be the trusted cooling partner for: Palm Beach County: Boca Raton, Delray Beach, Boynton Beach, Highland Beach, Ocean Ridge, Gulf Stream. Broward County: Deerfield Beach, Coral Springs, Hillsboro Beach, Lighthouse Point, Pompano Beach. Call Atlantic Refrigeration today or visit our Areas Served page to schedule your consultation. Experience the white-glove service that has kept South Florida cool since 1962. Atlantic Refrigeration — Cooling South Florida with Precision and Pride.
Looking for reliable HVAC repair & AC installation in Palm Beach or Broward? We offer expert cooling, heating and maintenance services for homes and businesses.